...Growing, Building, Cooking, Preserving, Crafting...

2006 began our urban homestead when I broke ground on a garden, which now includes perennial fruits, flowers, & many vegetable varieties. We dream of solar panels, keeping bees and hens. Until then we'll continue growing and preserving our own fruits and vegetables, building what we can for our home, cooking from scratch, and crafting most days.

4.12.2010

Local Food in Early Spring

We made it through the winter with plenty of local food still in tact.  It's not December and January that concern me when planning how to stock our larder, but late February and, especially, March.  Even the beginning of April is rough in that time between last year's preserves and new greens popping out of the ground.  We managed to store own our pumpkins and garlic all winter on a wooden, open-slatted rack in the basement, my preserve pantry is still bursting with pickles, jams, and canned fruits, and for the first time I've kept up with working through the food in our upright basement freezer (see, the time I spent creating an inventory checklist to hang on the freezer door wasn't for naught.)  This year we've also continued to support farmers we know that grow spinach all winter in hoophouses and have frozen local meats and poultry.  I love the challenge of putting together a locally sourced meal in the depths of late winter and early spring.  But enough talk about winter, that's in the past.  Now the garden displays tiny rows of green sprouts soon to be salad mix and mustard greens and the red and golden beets finally showed themselves yesterday.  Even though the news season's veggies are in sight, I am cooking the memories of last fall.  I haven't shared any recipes lately so I wanted to post a couple that I've made recently.

Plan ahead to forage for wild grape leaves this spring.  June is the ideal time, before the leaves get too big and tough.  I found these along a pathway near the lake.

Stuffed Grape Leaves
Serves 8
Adapted from Nourishing Traditions by Sally Fallon.  This recipe and more details about wild foraging will be featured in my column in the May issue of the Outpost Exchange magazine (see "Links I Like" for more.) 


About 3 dozen grape leaves, home pickled (see recipe to follow) or store bought, preserved in brine
1 lb. ground pastured lamb
3 large onions, peeled and finely chopped
4 T. grapeseed oil
2 c. cooked brown rice or bulgur wheat
1 c. fresh dill or 1/2 c. dried dill
1/2 c. fresh parsley, chopped
1 bunch green onions or chives, chopped
3 T. toasted pine nuts
Juice and zest of 2 lemons
salt and pepper to taste

Spread grape leaves on paper towels to drain.  In a skillet over medium-high heat, cook lamb thoroughly and set aside.  Saute onions in oil until soft.  Remove from heat and stir in remaining ingredients plus lamb.  Place the grape leaves on a board, shiny sides down, and put 1-2 T. rice mixture in the center of each leaf.  Fold the sides of the leaves to the center, then roll them up tightly, starting from the stem end.  Place in a bamboo steamer or other steamer basket and steam for 30 min.  Serve with lemon wedges and yogurt sauce.


Preserved Grape Leaves

Yields 1 pint
Recipe from the Wisconsin Safe Food Preservation Series from the UW-Extension


About 3 dozen tender, light-green grape leaves, stemmed
2 t. canning and pickling salt
4 c. water
1 c. water plus 1/4 c. bottled lemon juice

Measure 2 t. salt and 4 c. water into a large saucepan, and bring to a boil.  Add grape leaves, and blanch them for 30 seconds.  Drain.  Stack the leaves in small piles of about 6 each, and roll the stacks loosely from the side.  Pack into a clean, hot pint home canning jar, folding the ends over if necessary.  In a small saucepan, bring to a boil 1 c. water and 1/4 c. lemon juice.  Pour the hot liquid over the rolled leaves, leaving 1/2-inch headspace.  Remove bubbles with a rubber spatula.  Wipe jar rim with a clean, damp cloth.  Cap jar with a pretreated lid.  Adjust lid.  Process in a boiling water bath canner for 15 minutes for pints.

Note:  These leaves are not salty and will not have to be rinsed before stuffing.  If you choose not to process, keep them in your fridge after they've cooled.

Our neighbor dropped off a grocery bag of Jerusalem artichokes (a.k.a. sunchokes) last night.  They grow at their cottage and she gave me some a few years ago.  I planted them in our yard not realizing how prolific (and potentially invasive) they can be.  They are native--related to sunflowers--but can still take over in an unhealthy way.  Last spring I harvested about 12 pounds from a tiny corner of our yard, but vowed not to let them grow back.  I don't see any new growth this year so I think I managed to finally eradicate them.  Of course, now I miss them.  I may end up planting one or two from this special delivery.

Roast Chicken with Jerusalem Artichokes, Celeriac, and Tarragon White Wine Sauce
Serves 4-6 with leftovers
Adapted from the MACSAC cookbook From Asparagus to Zucchini: A Guide to Cooking Farm Fresh Seasonal Produce


a 4-lb. local chicken
salt and freshly ground pepper
several sprigs fresh tarragon
4-6 cloves garlic, peeled
2-3 T. butter, well softened
1/2-2/3 lbs. Jerusalem artichokes, scrubbed and cut into chunks
1/2 lb. celeriac, peeled and cut into chunks
1/2-2/3 c. dry white wine
1 T. chopped fresh tarragon
1/2 c. half-and-half or 1/4 c. water mixed with 1 T. flour (optional)

Rinse bird inside and out with cold water; pat dry with paper towels inside and out, then let stand until it comes to room temp., about 1 hour.  Heat oven to 450 degrees.  Sprinkle chicken generously inside and out with salt and pepper.  Tuck tarragon sprigs and garlic inside the body cavity.  Spread butter all over outside of bird (be sure to get some under the skin too.)  Place chicken in a roasting pan just big enough to hold it and the vegetables (but don't add veggies yet.)  Place it in the oven with legs toward the back of the oven.  Roast 20-30 min., then baste and scatter the vegetables around it, coating them with pan drippings.  Continue to roast the chicken with the legs toward the back, basting every 20-30 min.  After each basting you may also, if desired, turn the chicken in the pan a quarter-turn to brown all sides.  It will take a total of about 1 1/2 hours to get it nice and brown and fully cooked.  Remove from pan and let it rest on a cutting board.  Let the veggies and pan drippings stand for 5-10 min., then skim off excess fat.  Add wine and chopped tarragon and simmer 10 min.  Serve the sauce as is, enrich with cream, or thicken it with the water/flour mixture.  Carve and serve with the veggies and sauce.  Enjoy with a bottle of cold white wine.

4.10.2010

Charcuterie School


It's Saturday night and I just spent two hours "in class."  I attended Charcuterie School at Bolzano Artisan Meats, Wisconsin's first dry-cured meat company.  I'm reminded of my 23rd birthday when I spent the evening learning about food preservation at a local community center.  My friends never let me hear the end of that one, "I can't believe you're going to a canning class on your birthday!"  Well, I'm now in my eighth season of teaching food preservation classes.  Does checking out this class tonight mean I'm destined to become a meat artist?  Hmm, I'll stick to sausagemaking for now.  But it was a totally worthwhile continuing education session, which is part of my plan as an urban homesteader--to seek out the people who practice these valuable skills and learn from them.  Bolzano, named after a city in Italy, gets its pork from a small family farmer in Lake Geneva who raises Hereford heritage breed hogs.  After seeing Food Inc. the other night, it was refreshing to know that this farmer raises just 40-50 hogs on average and that Bolzano has simply two coolers and a very small (not to mention impeccably clean) kitchen for processing their meats.  It's the epitome of Slow Food.  Currently they are curing speck, a type of proscuitto that's cold smoked after drying.  Local folks have pre-ordered these hams for around $300 a pop.  After tasting some of Bolzano's products I can understand why one would pay so much for this meat--delicious and very high quality...and it can easily be traced back to its source.


Today was also about more crafting.  By noon I'd finished all my outside "chores"--planted onion sets, scallions, spinach, and peas (in the windowbox), built a bean trellis from the branches we trimmed from our cherry tree, and sorted the boards so we can begin cutting the lengths for the raised beds.  It felt great to get that of all done then have the rest of the day to nap, putz, and play with Vera.  To make the bean trellis I basically took the tallest/longest branches I could find and secured them into a grid with the plethora of twist ties I have lying around.  We'll see how sturdy it ends up being.  I've never had an engineer's brain like my siblings, but I've built some decent things.  This ad hoc project reminded me of the jury-rigged structures I used to build for my Barbie dolls.  There was probably a lot of adhesive tape involved in their construction, but they stood long enough for me to have fun with them.  I'm guessing this natural trellis will look beautiful once my Bingo beans are in full bloom.

This afternoon I made Vera a "Woodland Elf Hat" from a pattern I found in Bend the Rules Sewing by Amy Karol.  I found a piece of pink denim in my craft cupboard that I thought would be perfect.  When I unfolded the fabric I remembered it from a past thrifting adventure.  It had a different flower screenprinted on each corner.  I worked each of these designs into the pattern and sewed it all together fairly quickly.  It's a little big on Vera, but still very cute.  She'll look like a little wood sprite when she grows into it.

4.06.2010

Hiding Places

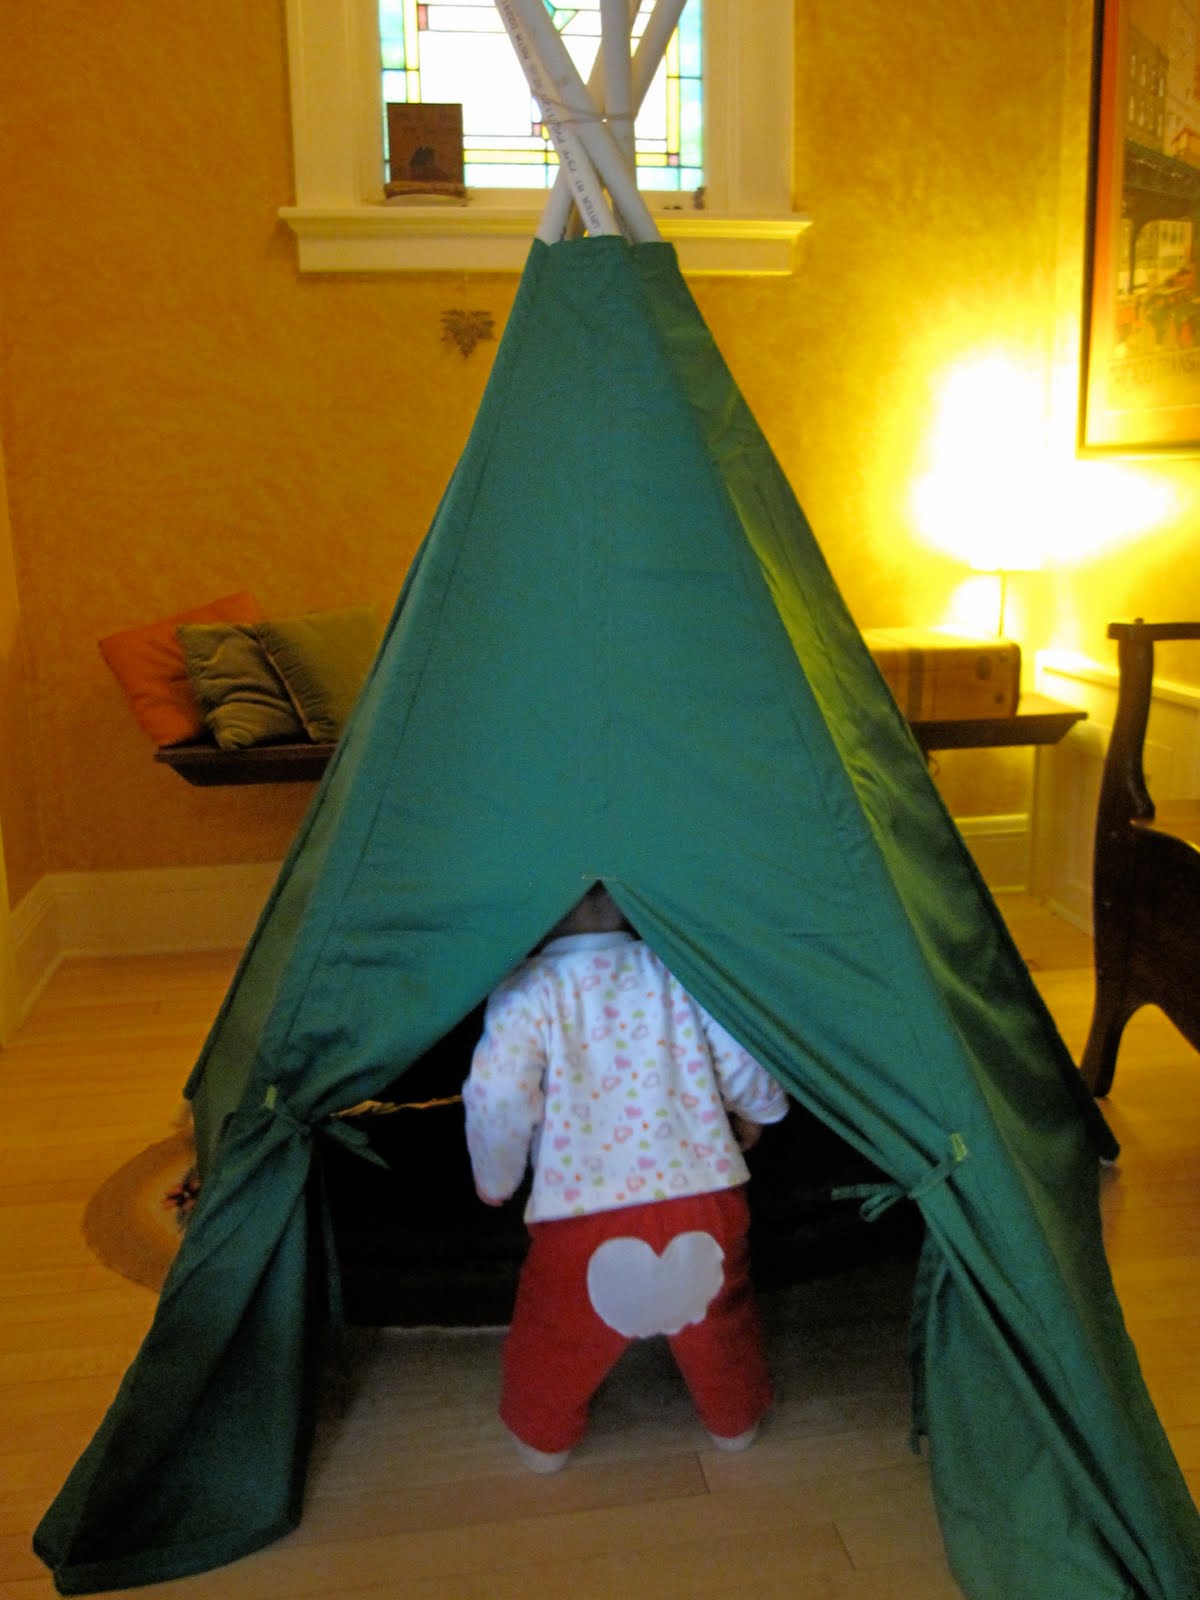
I have a vision of how my season of gardening will go...I'll be outside pulling weeds, harvesting veggies and Vera will be playing quietly under the cherry tree.  Ha!  Let's hope.  So far she's proven to need constant supervision because she loves to taste rocks, sticks, and maple tree spinners and go down the stairs by herself (can't wait for that new fence!)  But I can dream--I made a mini teepee so I can at least offer her a shaded place to play (or nap???) while we're outside.  The green fabric was part of the lot that I picked up at the thrift store.  It had the most yardage of anything I dug through that was reasonable for this project so I grabbed it.  Vera will get used to the color.  Maybe when she's an adult she'll even say, "I remember the green teepee I used to have."  I think green will be kind of fun, I just hope it won't soak up too much sun.  Once I purchased the PVC pipe with end caps, and practically got the fabric for free, I figured I spent about $12 on it, not counting the hour or two it took me to make it.  Similar teepees retail for $40+ and I've seen many for upwards of $200.  So even if Vera only fits in it for a season or two, I'll get my money's worth.  I'm excited that I could make her another toy myself.


We're getting some great rain this week, which will really make everything pop outside.  So far the forsythias are the most noticeable in our neighborhood.  They will always remind me of the forsythia bushes blooming between our house and Vera Schrader's house on 4 Mile Rd. in Racine (that's who our Vera is named after.)  I took some garden pictures the other day as the rhubarb, garlic, chives, and sorrel were pushing through and just a day or two later I had to take new shots because they'd grown so much.  These photos are a couple of days old so it's already changed again.  I love seeing all the new growth every day in early spring.  My garden seeds are already popping through as well.  By the weekend we may have some visible rows of greens.

4.05.2010

Spring Cleaning


There's a small window of time to get things cleaned up in the yard and garden from winter and get seeds planted and the yard arranged for the next growing season.  The weekends are precious.  Currently I've got a pile of untreated lumber staring at me, ready to become our new raised beds for vegetables.  Today I had a friend and neighbor, a former hobby orchardist, help us prune our cherry tree.  He helped last year as well and I felt like I learned the very very basics of tree pruning so I did a little bit of pre-trimming before he arrived.  I quickly learned there was so much more to shape up when he returned.  Our main goal was to consolidate to one central leader.  It would be a dramatic, but beneficial chop.  After we removed that limb he cleaned up the rest of the tree to get lots of sunlight through the branches and create three definite tiers of growth.  I should mention that this gentleman is a bonsai expert as well.  He doesn't have a big yard to grow fruit trees anymore so his deck has rows and rows of beautiful, precisely pruned mini trees.  It's fun to watch him prune a larger tree in the same manner--he approaches with his loppers and pruners as a painter would a canvas with paint and brush.  The tree is now refreshed, looking happy and able to breathe.  We also took a peek at the two dwarf apple trees I have on the fence line that I'm training to grow espalier style (on a single plane).  One of the best things about pruning fruit trees, or any tree for that matter, is that it produces lots of great branches and small limbs that can be used to make trellises and bean teepees.

Along with this spring cleaning, I straightened up my craft area in the basement this weekend.  A rainy Saturday made a great day for thrifting.  My latest find, thrift store wise, is a place on the southside where I can find tons of inexpensive fabric.  The little lady that runs the place told me to fill a paper grocery bag for $5.  Can't beat that.  When I got settled at home I reorganized my fabric cabinet. I don't know what's more fun, using the fabric or putting it into stacks of gradient colors.  I've enjoyed organizing my craft supplies since I was a kid and would play with my moms beautifully colored spools of thread (many wooden spools at that time), putting them into straight rows and pretending they were kids going to day camp.  The taller spools were the adults and camp counselors, of course.  Anyway, as I was restacking the various colors and textures of fabric I got ideas for new projects--dresses for Vera, quilts, accessories for myself.  Sometimes just being in my craft area and getting things together is enough to refresh and motivate me.

Tonight I attended our monthly Holistic Moms Network meeting where we watched the film Food Inc.  I recommend it to anyone who cares about food, and especially to those who don't think much about what they eat.  This is an eye opening movie.  Even if I'd already heard most of it, it got me fired up again to take a stand for good, safe, healthy food for all.  To get involved go to takepart.com